
Step-by-Step Preparation
1. Refreshing the sourdough starter
Before starting, make sure your sourdough starter is active. Refresh it at least 4–6 hours before making the bread, or the night before if you prefer to work slowly in the morning. It should be well doubled in size, light, and with a slightly acidic but pleasant aroma.
2. Autolysis: Natural gluten development
In a large bowl, combine the two flours with the water and mix quickly with a wooden spoon or spatula until you obtain a rough, slightly hydrated dough.
Cover the bowl with a damp cloth or plastic wrap and let it rest for 1 hour at room temperature.
During the autolysis process, the flour will begin to develop its gluten network, making the dough more elastic and malleable, and also improving the formation of the alveoli.
3. Adding the sourdough starter and salt
After the autolysis time has elapsed, add the sourdough starter pieces to the dough. Begin kneading gently (by hand or with a stand mixer with a dough hook) until fully incorporated.
After about 5 minutes, add the salt and, if desired, a drizzle of extra virgin olive oil. Continue kneading for another 10 minutes, until the dough is smooth, homogeneous, and slightly elastic.
4. Folding and resting: strengthening the dough
Transfer the dough to a lightly floured surface and let it rest for 30 minutes, covered with a bowl or cloth. Then perform the reinforcement folds:
Slightly stretch the dough into a rectangle.
Fold one third toward the center, then the other third over the top.
Rotate 90° and repeat the same process.
Repeat the folds every 30 minutes, three times. Then, place the dough in a lightly greased bowl, cover, and let it rise for 4–6 hours at room temperature, or in the refrigerator for 12–18 hours for a slower, more aromatic rise.
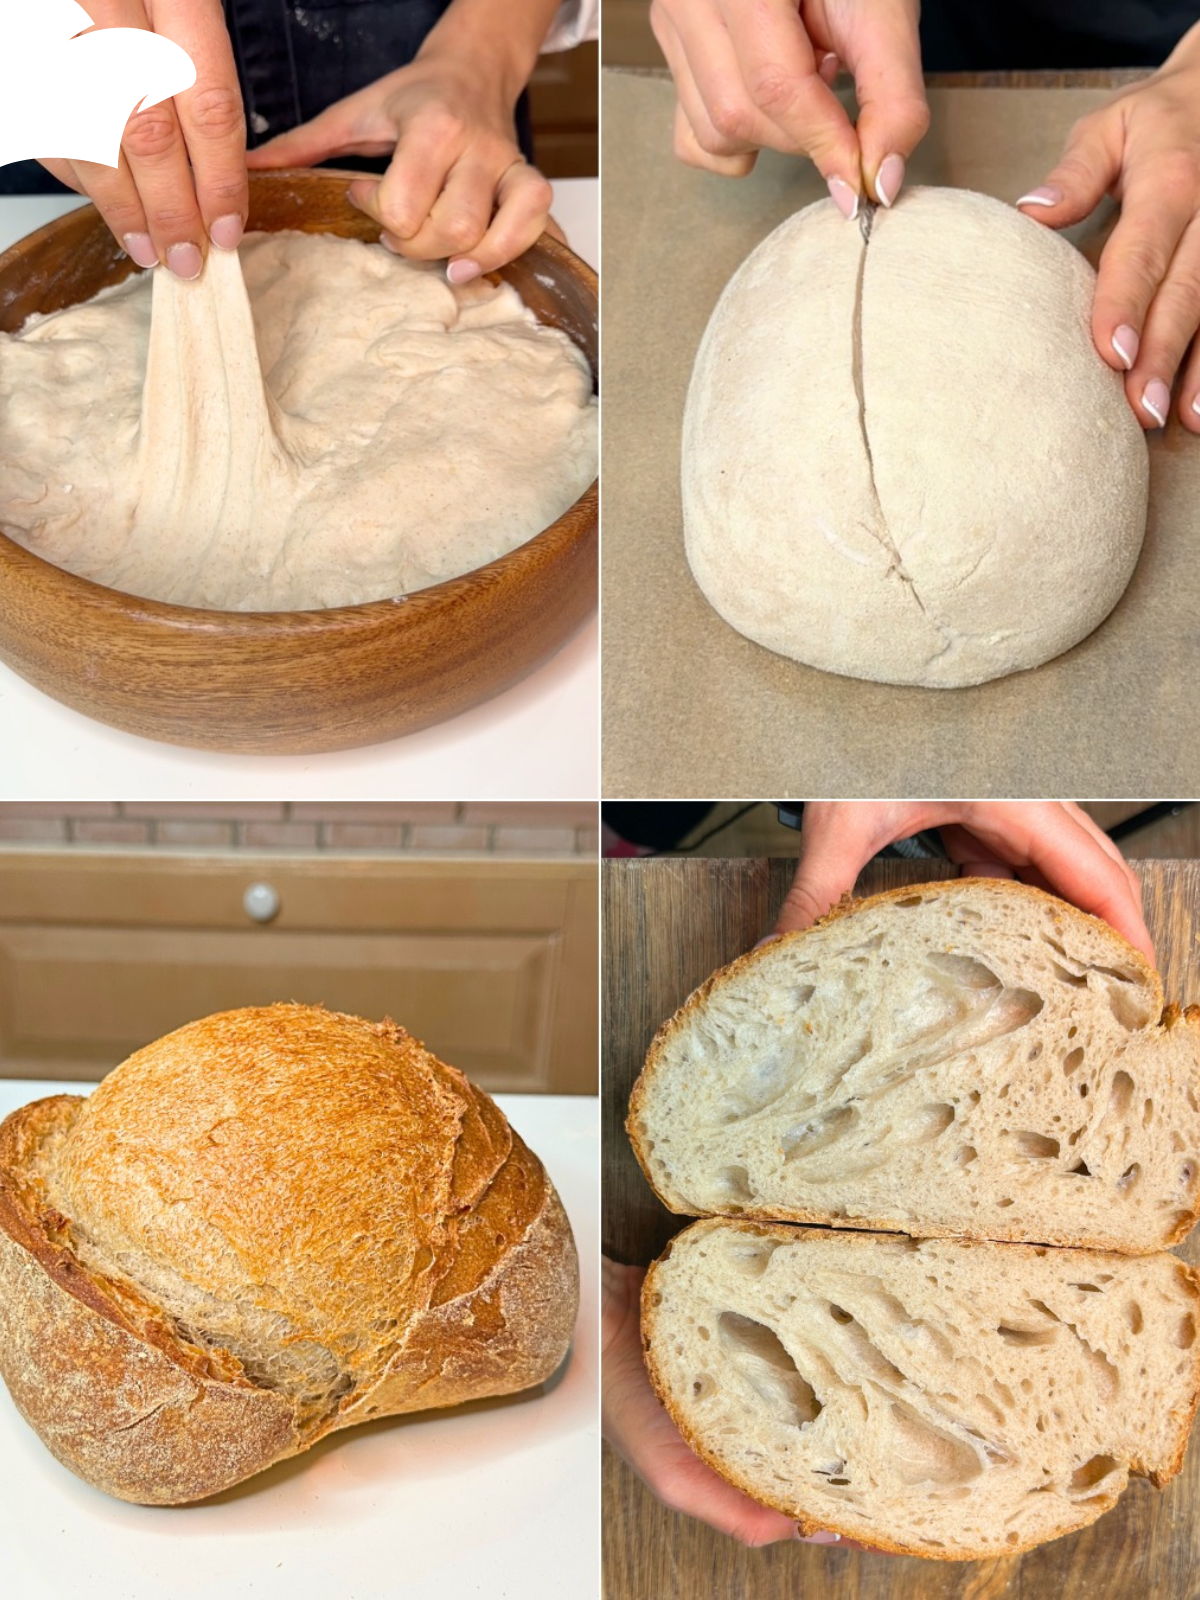
5. Shaping the bread
Remove the dough from the refrigerator (if you chose slow rising) and let it acclimate for at least 1 hour.
Turn the dough onto a lightly floured surface and shape it into a loaf or loaf, without overworking it to avoid deflating it.
Place it in a floured proofing basket (banneton) or in a bowl lined with a clean, well-floured cloth.
Cover and let rise for 2–3 hours, or until almost doubled in size.
6. Baking
Preheat the oven to 250°C (480°F) with a baking stone or baking sheet inside and a container of water in the lower third of the oven (to create steam, which is useful for a crispy crust).
Invert the loaf onto parchment paper and score the surface with a sharp razor blade to encourage rising in the oven.
Bake immediately in the middle rack:
First 15 minutes at 250°C (480°F) with steam
Then reduce the temperature to 220°C (428°F) and bake for another 30–35 minutes.
For the last 5–10 minutes, remove the container of water and leave the door slightly ajar to dry the crust.
The loaf is ready when it sounds hollow when tapped on the bottom.
Cooling and Storage
Once baked, let the bread cool on a wire rack for at least 2 hours before slicing: this allows the crumb to settle and not become moist.
Store it in a paper bag or wrapped in a clean cloth: it will stay fresh for 3–4 days. It can also be sliced and frozen, to be toasted when needed.
Final Tips for Perfect Honeycomb Bread
Don’t add excess flour while kneading: the dough should be soft and slightly sticky.
Don’t skip the autolyse, which is essential for opening the honeycomb.
The longer it rises, the lighter and more digestible the bread will be.
Practice with hydrated doughs: they are more difficult to handle, but they yield a spectacular, open interior.
ADVERTISEMENT
