
Forsythia, with its vibrant yellow blooms, is a cherished symbol of spring. Many gardeners are eager to propagate forsythia to fill their gardens or share with friends. However, despite its apparent ease, many attempts at growing forsythia from cuttings end in disappointment.
Understanding the right techniques is crucial to successful propagation. This article will guide you through the proven methods to ensure your forsythia cuttings thrive and bloom beautifully. By avoiding common pitfalls and following these steps, you can enjoy a garden full of these sunny blossoms.
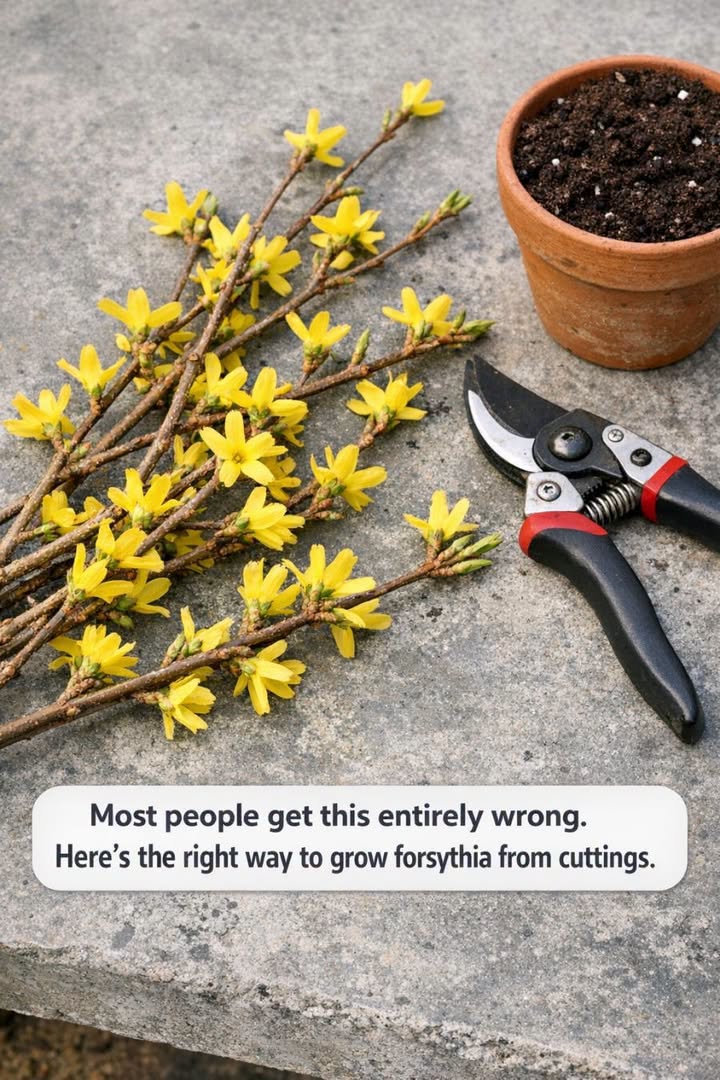
1. The Big Mistake: Why Most Forsythia Cuttings Fail
The most common mistake when propagating forsythia is using the wrong type of cutting or taking cuttings at the wrong time. Many gardeners rush into it, thinking any piece of the plant will root easily. This assumption often leads to poor rooting success and disappointment.
Another frequent error is not providing the optimal conditions for root development. Forsythia cuttings need specific humidity and temperature settings to encourage root growth. Without these conditions, the cuttings may wither and die before they ever take root.
2. Choosing the Right Wood: Softwood vs. Semi-Ripe vs. Hardwood
Selecting the appropriate type of wood is essential for successful forsythia propagation. Softwood cuttings, taken in late spring or early summer, are ideal because they root quickly and easily. These are young, flexible shoots with a vibrant green hue.
Semi-ripe cuttings can also be used, typically taken in midsummer when the wood is partially mature. Hardwood cuttings, taken in late autumn or winter, are another option but take longer to root. Each type of cutting has its advantages, but softwood is generally the most reliable for beginners.
3. Perfect Timing: The Only Months You Should Take Forsythia Cuttings
Timing is crucial when taking forsythia cuttings. The best months for softwood cuttings are May through July when the plant is actively growing. For semi-ripe cuttings, aim for July to September.
If you prefer to take hardwood cuttings, do so from November through February, when the plant is dormant. Each period corresponds to different types of cuttings and offers unique benefits for root development.
4. Smart Snipping: Exactly How and Where to Cut the Stem
To ensure successful rooting, cut the stem just below a node, which is where leaves attach to the stem. This is where rooting hormones are most concentrated. A cutting should be 4 to 6 inches long, with at least two or three nodes.
Always use a sharp, sterilized knife or pruners to make a clean cut, reducing the risk of disease. Avoid cutting stems with visible damage or disease, as these are less likely to root.
5. Strip, Trim, and Wound: Prepping Cuttings for Maximum Rooting
Remove the leaves from the lower half of the cutting, which will be buried in the rooting medium. This reduces water loss and directs energy towards rooting.
Lightly wound the base of the cutting by scraping it with a knife to expose more cambium, the layer responsible for root development. This simple preparation step can significantly increase your chances of successful rooting.
6. The Right Rooting Mix: Simple, Cheap, and Almost Foolproof
For Complete Cooking STEPS Please Head On Over To Next Page Or Open button (>) and don’t forget to SHARE with your Facebook friends
ADVERTISEMENT

